Before I start, a friendly warning: DO NOT keep your X-acto
knife blade-up in your pencil cup. This is the result:
A run to the bathroom
and a fun Band-Aid later…
We’re ready to start.
Today I celebrated
the completion of my first final of the semester by making some fun magnets. I
got the idea here.
Someday when I remember to grab the newspaper before we recycle it, I’ll make
magnets like they show, but today I wanted bright, fun colors.
To make these
magnets, all you need is:
Flat glass marbles
(the kind that look like giant Mancala pieces)
Scraps of fabric with
small, fun prints
Mod Podge
Magnets
Glue
The first thing to do is cut out a circle from the
fabric that is roughly the same size as your marble. This doesn’t have to be
perfect, just make sure the circle isn’t bigger than the marble.
Then, paint a little Mod Podge on the back (flat side) of
the marble and press the fabric circle onto it PRINT SIDE DOWN. You will be
able to see the back of the fabric and the front or “pretty” side will be stuck
to the glue. Mod Podge dries clear, so when the magnet is dry, you will be able
to see the print through the marble.
Paint Mod Podge over
the back of the fabric, making sure the whole piece of fabric is covered and
painting a couple millimeters beyond the edges. We don’t want the fabric to
peel off later!
Once the Mod Podge is
completely dry, stick the magnet to the back. Even though my magnets were the
sticky-back kind, I still used a dot of hot glue to make sure they don’t pop
off.
Here are all my
pretty magnets hanging out on the front of the dryer
(Since the dryer is
located in my sewing room, I saw no need to run downstairs and clear a space on
the fridge for my pictures)
I love how the
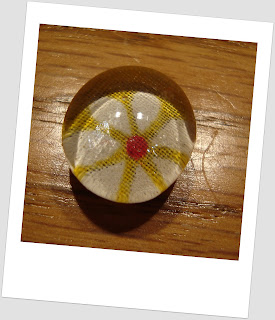
marbles magnify the design of the fabric.
What else could you use for the designs on these??
What else could you use for the designs on these??


At first I thought you put your blood in the magnet! so glad you didnt ;)
ReplyDelete